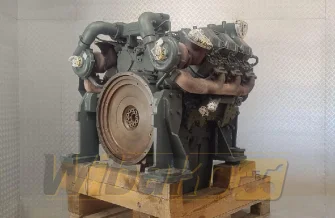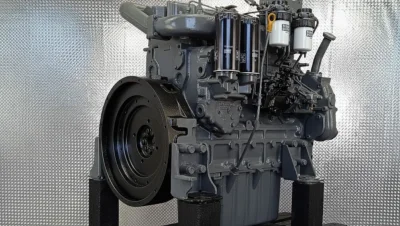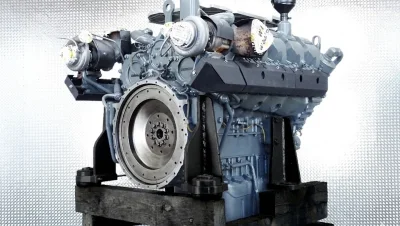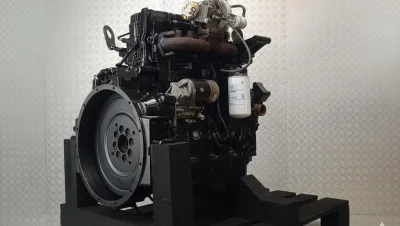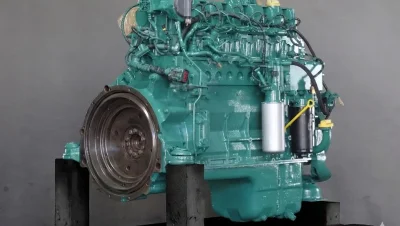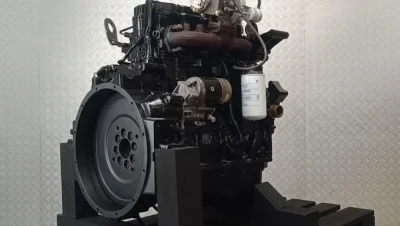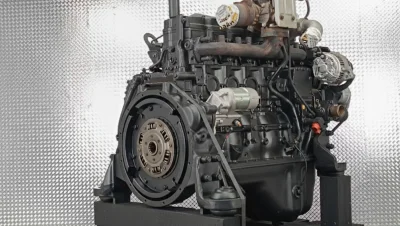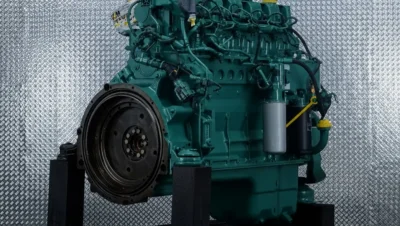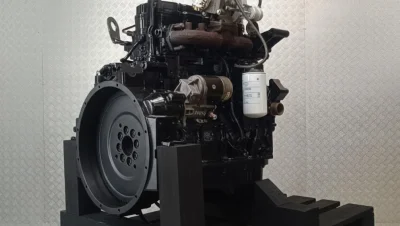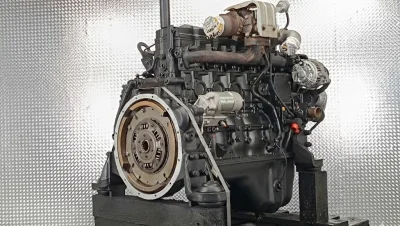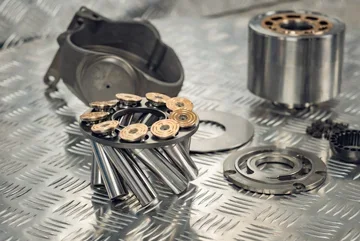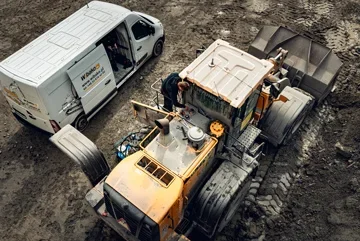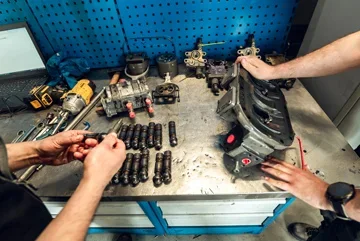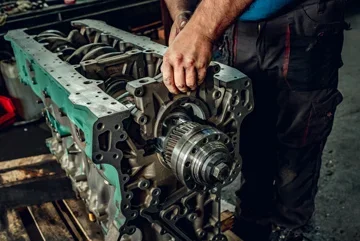


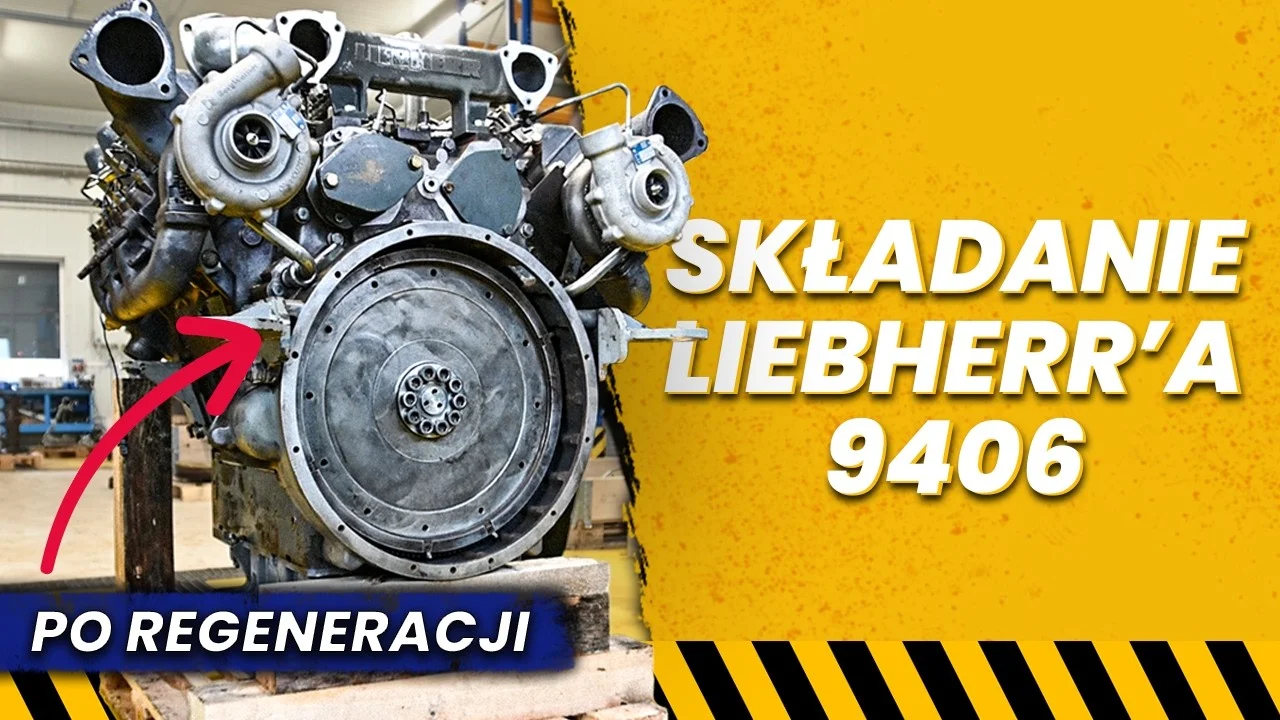
In this episode we assemble a Liebherr 9406 engine after a complete reconditioning. The block needed serious work – two liner seats had sunk and had to be machined. On top of that, the crankshaft was ground and all cylinder heads were reconditioned. Assembling an engine like this leaves no room for shortcuts – every step affects how long it will last after the overhaul.
Liners: test fit, measurement and fitting with lubricant
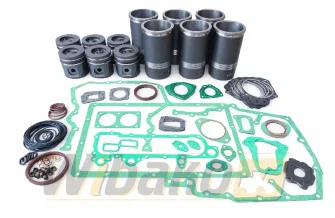
The liners were first test-fitted without O-rings and their protrusion was measured – everything was within specification. For final fitting, the O-rings and the bores in the block are coated with a special lubricant (supplied with the kit) to help them slide in and avoid damaging the seals.
Cleanliness above all
Every part – including new or reconditioned ones – is washed and degreased before assembly. After grinding, the crankshaft was chemically cleaned and the oil galleries blown through. The bearing shell seating surfaces in the block and caps must be clean and dry with no trace of oil; only the running surfaces of the shells are lubricated.
Valvetrain, cooling jets and crankshaft
- Tappets – stem always lubricated; the tappet must slide into its bore without resistance.
- Camshaft – on new bearings (the old ones looked fine but were out of tolerance), never dry.
- Piston cooling jets – fitted on locating dowels, with thread locker on the valves. A loose jet means no cooling or lubrication of the piston, and the main oil gallery runs here.
- Crankshaft – caps fitted according to their numbering, tightened per the manufacturer's service manual: sequence, torque and angle.
Next we fitted and timed the gear train with idler gears, the front housing, pistons with rings (liners well lubricated), connecting rods, counterweights, the balancer shaft and the oil pump with pickup, and finally the oil sump.
Cylinder heads and valve adjustment
New gaskets and the reconditioned heads went onto the degreased block with its locating dowels. The bolts are never fitted dry. Tightening is done in stages: pre-tightening, then the torque from the service manual, and finally the angle – always in the sequence specified by the manufacturer. This engine has no hydraulic lifters, so valve clearance is set the traditional way: manually with a feeler gauge, with the lock nuts tightened properly.
First start-up
After fitting the manifolds, turbochargers, valve covers and injectors, the engine was started. Oil pressure came up immediately, with no smoke and no leaks. The next step is the dyno, where we check power and temperatures under load.
Takeaways
- Sunken liner seats do not have to mean scrapping the block – proper machining can save it.
- The durability of an overhaul depends on details: cleanliness, lubrication, correct torque and tightening sequence.
- A dyno test confirms the engine's parameters before it goes back into the machine.
Learn more about our combustion engine overhauls.
Watch the repair video: We Saved This Block! Assembling a Mighty Liebherr 9406 Engine