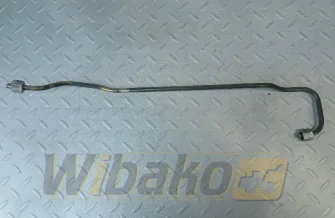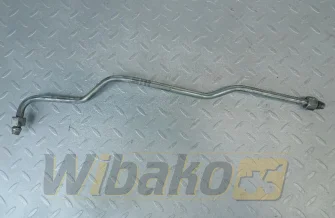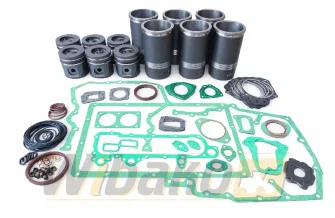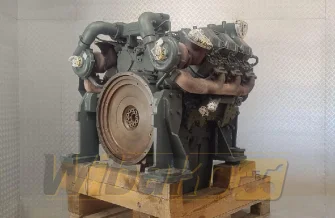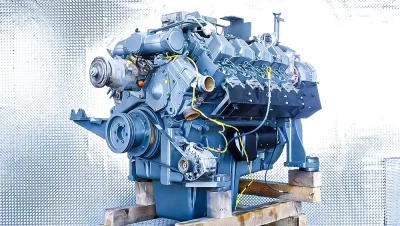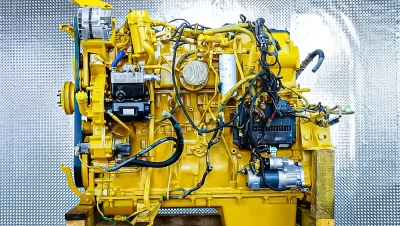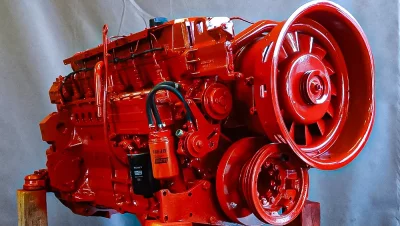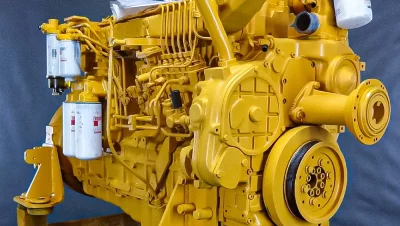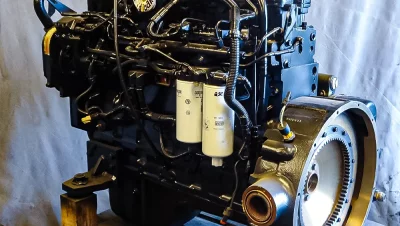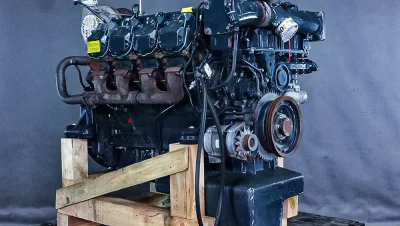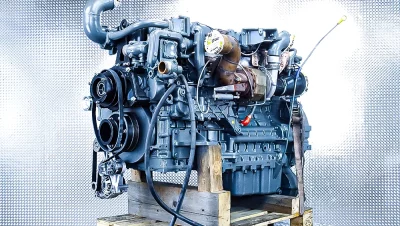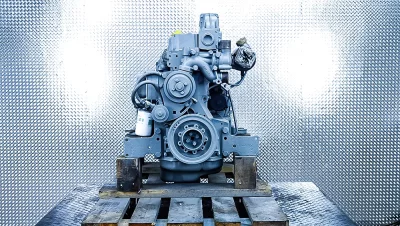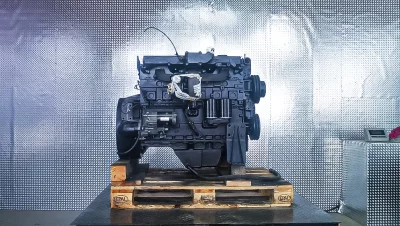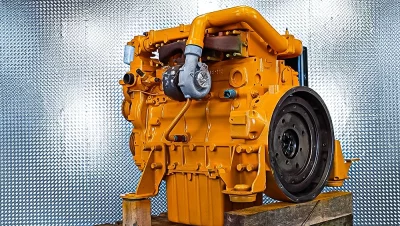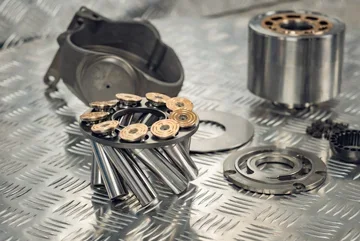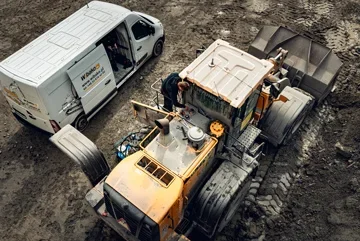



A Liebherr LTM 1060 mobile crane came into our workshop with an engine so badly damaged that rebuilding it no longer made economic sense. Instead, we offered the customer a used Liebherr 9406 engine in good condition – re-equipped with the ancillaries from the customer's machine and tested on a dynamometer. The video shows the whole installation: lifting the superstructure, mating the engine to the gearbox, the first start-up and the road test.
Preparation: superstructure up, access to the engine bay
The crane stood inside our hall, which made the job much easier in winter conditions. To get the engine into the bay, the entire superstructure first had to be lifted and moved aside. The customer had cleaned the engine bay beforehand, which speeds up the installation and makes it easy to spot any leaks after start-up.
Mating the engine to the gearbox and fitting the clutch
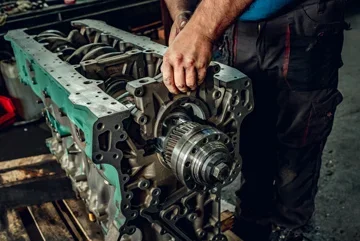
The engine and gearbox were bolted together on the floor, outside the machine, and only then was the complete unit lowered into place with the overhead crane:
- Levelling and test fitting – the gearbox was suspended, levelled and the studs were aligned with the flywheel housing.
- New flange seal – the old gasket was worn, and oil is present at this joint. The surfaces were cleaned, degreased and sealed with sealant; first two diagonal bolts so the sealant spreads evenly, then the rest.
- Thread locker on the nuts inside the housing – engine vibration can loosen the joints, which could damage the gearbox.
- Clutch through the flywheel – the clutch plates are bolted through an opening in the flywheel housing while the engine is turned to each position. It takes teamwork: one person feeds the bolts with thread locker, the other positions the crankshaft and tightens.
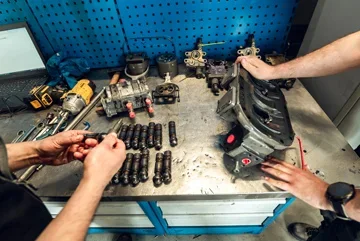
Finally, we fitted the frame with the pumps and filter, an additional pump, the main pump drive gearbox and the alternator – the transport pallet had not allowed this earlier.
Installation in the engine bay and connections
The levelled engine–gearbox unit was lowered into the bay and seated on its mounts. Then came the most time-consuming part: routing and connecting two sections of the wiring harness, the hydraulic hoses, the cooling system, solenoids, the starter, and the control lines for the engine brake and engine shut-off. Once the hydraulics were connected, the system was bled and filled with oil.
First start-up and testing
We first started the engine without the intake and exhaust connected – there was a little air in the system, but no real issues. After topping up the fluids (every pump draws in hydraulic oil once it starts), fitting the suction elbow to the cooler with new seals and completing the remaining ancillaries, one more problem appeared: the superstructure computer had lost its calibration. The controller could not detect the superstructure position or the amount of rope on the drum, so it would not let us stow it. After calibration, the crane left the workshop under its own power.
During the road test we checked smooth gear changes, temperatures and tightness. Some crane functions did not work at first – the cause turned out to be a broken control wire for the solenoids. Once it was located and repaired, all functions worked correctly and the machine went back to work.
Takeaways
- When the cost of a rebuild exceeds the value of the engine, a well-matched used, dyno-tested engine is the fastest way to get the machine working again.
- When replacing an engine, it pays to renew the seals at the gearbox joint and secure the fasteners with thread locker.
- Expect to recalibrate the electronics and carefully check the wiring harnesses after such a job – a single broken wire can disable some crane functions.
We carry out combustion engine overhauls and construction machinery service, and our sales team will help you choose the right parts and solution for your machine.
Watch the repair video: Will a New Engine Save This Crane? The Big Test – Liebherr LTM 1060