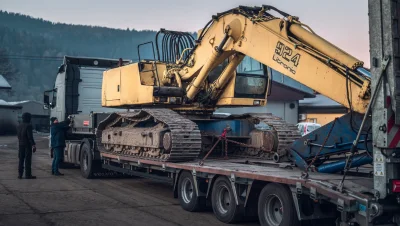
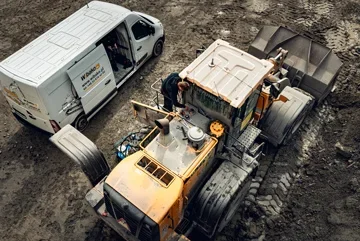
The Liebherr 924 excavator came to us with a problem of slowed operation and overall weakness of the hydraulic system.
The cause turned out to be a faulty hydraulic pump, which we thoroughly refurbished. In this post, we present step by step how the repair process went and what actions we took to restore the machine to full functionality.
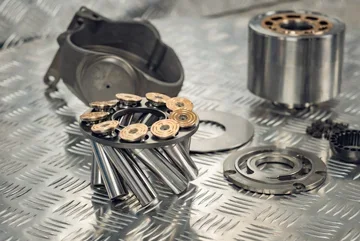
Diagnostics and refurbishment of the pump
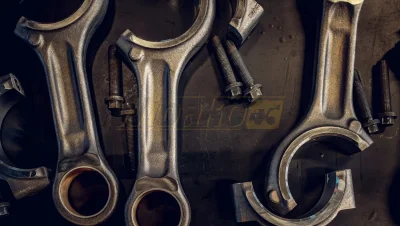
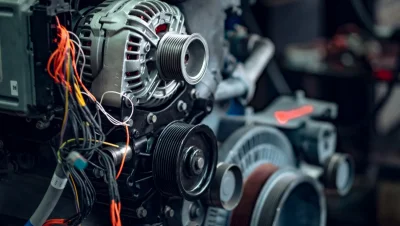
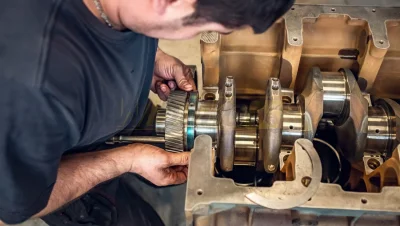
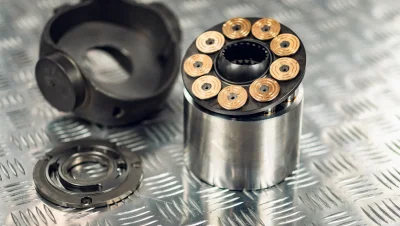
In the previous episode on YouTube, we dealt with the repair of the hydraulic pump, where we replaced: worn control piston rings, control piston sleeves, two cylinders, a complete set of bearings, and a reducer. After conducting tests, the pump achieved positive results, which meant it could be reinstalled in the machine.
How to repair an excavator in the field? – Installation and preparation
Preparing the excavator for field work requires several key actions: installing the pump, cleaning the tank, oil filtration, and a comprehensive replacement of all filters (hydraulic, engine, fuel, oil).
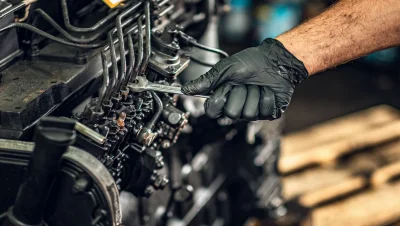
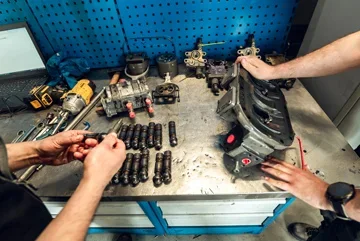
Installation of the hydraulic pump in field conditions
Preparing the oil tanks - we start by preparing the work station, which is partially served by (at least at the beginning) the oil tanks. For Artur and Marcin, they serve as a tool table. Lifting the pump – we used our special device mounted in the company car to install the pump in the correct place. Installing the pump – the screws were tightened first, then we installed the previously marked hoses. During this time, Artur took care of cleaning the tank, which is a crucial step to avoid problems with the hydraulic system.
Replacing seals – a small thing, big savings
Marcin took care of replacing the O-rings, which may seem like a minor task, but in reality, it helps avoid oil leaks after installation. In the case of leaks, it would be necessary to drain the oil again, which would generate additional time and costs.
Connecting the hoses and bleeding the pump
Marcin installed the control hoses for the regulators. Fortunately, there weren't too many of them, and the previous markings made the work much easier. In the case of more complicated systems, such as a distributor with 30 identical hoses, it would be necessary to use a diagram. The next step was to bleed the pump. To do this, we poured oil into the pump overflow at the housing, which allowed for quick removal of air from the system.
Comprehensive filter replacement – the key to the machine's long life
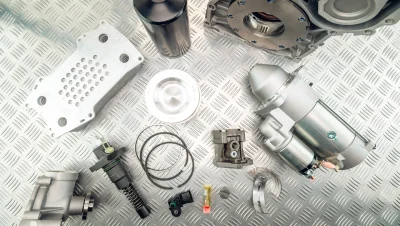
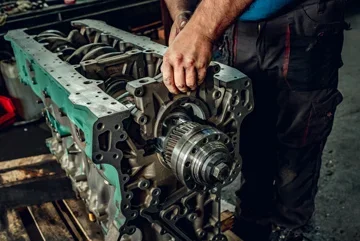
Filters in excavators are crucial for the efficient operation of the engine and hydraulic system. Artur took care of their replacement: Crankcase ventilation filter – the engine was neglected, indicating a lack of regular servicing. Fuel filter with water separator – the fuel was black and dirty, indicating that the filter had not been replaced for a long time. Fuel separator – heavily contaminated, required thorough cleaning. Air filter – in terrible condition, required immediate replacement. Engine oil filters – replaced with new ones to ensure proper engine lubrication. Hydraulic filter in the tank – the last element of the filter replacement, after which we installed the covers of the excavator.
Final check and pressure tests
After installing all the components, it was time to check the oil level and start the machine for the first time. Initially, there were concerns about whether the batteries would hold up, but fortunately, we managed to start the engine, albeit with difficulty. The fuel system bled correctly, but after a short period of operation, we noticed the need to add oil. After warming up the machine, we proceeded to measure the pressure. Previously, this value was only 200 bar, while now it increased to 360 bar, which was an excellent result. The difference in the machine's operation was noticeable even without a gauge – the excavator became dynamic, fast, and did not choke the engine.
Oil filtration – the final step
Due to the high level of oil contamination, we connected a filtering unit to clean the hydraulic system. After the filtration was completed, the machine was ready for work. Another successful repair completed!
Another successful repair completed
The repair of the Liebherr 924 excavator included the refurbishment of the hydraulic pump, comprehensive filter replacement, and cleaning of the oil system. Thanks to proper diagnostics and a systematic approach to the repair, the machine regained full functionality. Regular maintenance of the excavator is the key to its long life and avoiding costly failures.
The entire film can be seen here.