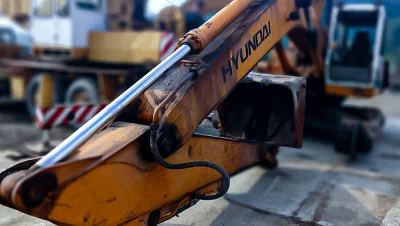
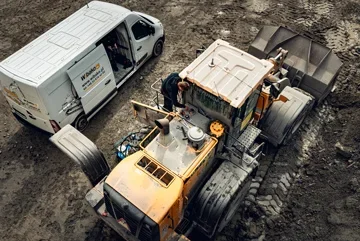
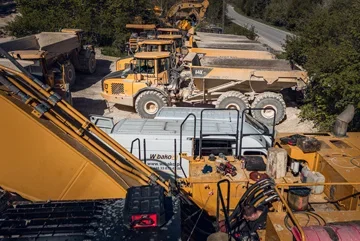
Repair of HDS crane actuators in MAN TGX truck
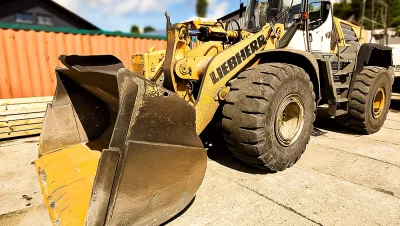
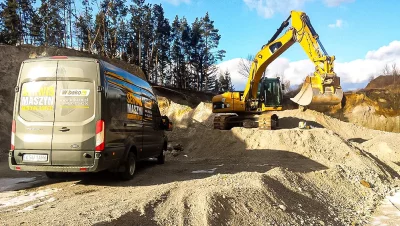
In today's post, we take you to our service, where we dealt with a MAN vehicle equipped for transporting wood and an HDS crane ε S140. Three damaged hydraulic actuators arrived at the workshop – one from the claw clamping with an external leak and two from the second arm, which were dropping on their own, indicating an internal leak. What did the repair process look like? Check it out, step by step.
Diagnosis – what was wrong?
The report came from a friendly client – a local entrepreneur engaged in wood transport. At first glance, there was an obvious leak from the clamping actuator – hydraulic oil was escaping outside. In the case of the other two actuators, the symptoms were more deceptive – the crane arm was dropping on its own, indicating wear or damage to the internal seals. In such cases, comprehensive regeneration is necessary.
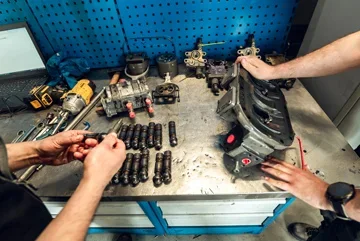
Disassembly of actuators – not always as simple as it seems
We started with the disassembly of the most problematic actuator. Already at this stage, the first difficulties arose – the rod securing elements were heavily worn, showing signs of previous repairs, and some components were even worn out. It was necessary to create a new securing element to restore proper rod retention and ensure safe operation. In the following steps, we proceeded to disconnect the hydraulic hoses, disassemble the actuators from the crane structure, and properly secure them for transport.
Safety is fundamental
In the case of such repairs, proper securing of the machine is crucial – especially the elements of the crane arm. The actuators are responsible for maintaining the working position of the arms, so before their disassembly, we ensured solid support for the entire structure. Without this, even a small oversight could result in a serious accident.
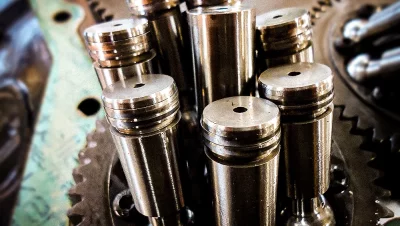
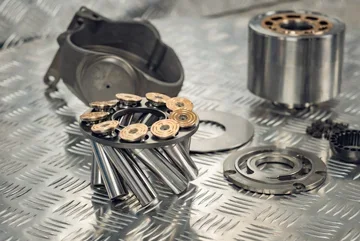
Disassembly and regeneration of actuators in the workshop
At the workshop station, we disassembled each actuator into its basic parts. We checked the condition of the rods, seal seats, and glands. In the actuator with an external leak, it turned out that the guiding surface had been previously damaged mechanically – probably due to an impact. After grinding and thorough cleaning, we proceeded to replace the complete set of seals: main, scraping, and guiding. All components were thoroughly lubricated with the appropriate hydraulic oil, ensuring proper operation from the first cycle. As a result, the actuators after regeneration will function like new.
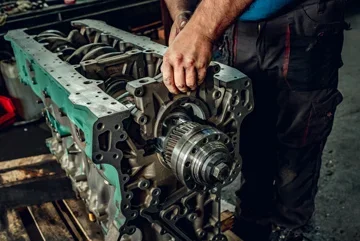
Assembly and testing – quick return to work
After completing the regeneration, we reinstalled the actuators back on the machine. The next step was to bleed the hydraulic system – we performed full work cycles for each actuator, meaning maximum extension and retraction. This allowed us to remove air from the system and restore the machine's full functionality. Finally, we conducted a leak test and checked if the actuators maintained their position without dropping. Everything went according to plan – the vehicle was ready to return to work the same day.
Summary
Repairing hydraulic actuators is not just about replacing seals – it is a whole process involving disassembly, diagnosis, regeneration, and load testing. In this case, everything was completed within one day, thanks to efficient organization and the team's experience. Do you have a similar problem with HDS actuators, an excavator, or an industrial machine? Contact us – we offer free damage verification on the same day we receive the equipment.
The entire video can be seen here.